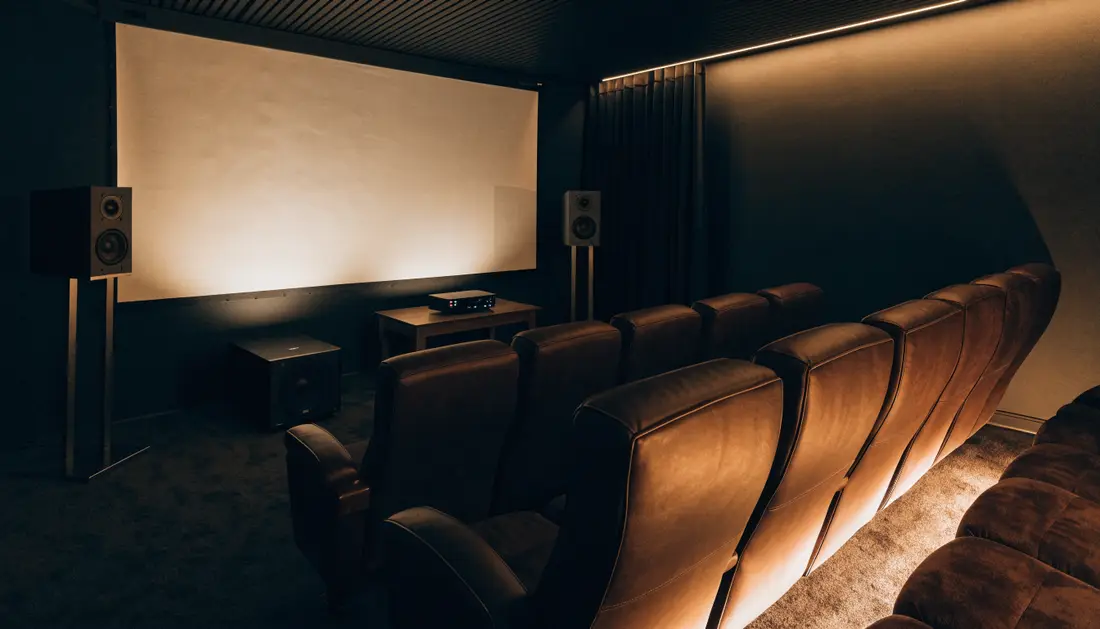
On this page
Picture quality gets the headlines, but sound is half of the cinema experience — some would argue more. Clear dialogue, sweeping surround effects and deep, controlled bass turn a film night into an event. Here’s how to get there, step by step.
What you need
TV or projector
Ideally with HDMI eARC to send audio to your sound system.
Streaming, Blu-ray, console
Streaming apps, a 4K Blu-ray player or game consoles provide the surround soundtrack.
AV receiver or soundbar
Decodes Dolby/DTS formats, amplifies speakers and switches sources.
Front, centre, surround, height
The number and position define your “channel” layout.
Subwoofer
Handles the low-frequency effects (LFE) channel — explosions, rumbles, music bass.
Seating & acoustics
Soft furnishings, rugs and curtains control echoes and improve dialogue clarity.
Soundbar vs AV receiver
| Soundbar system | AV receiver + speakers | |
|---|---|---|
| Setup | Very simple — one HDMI cable | More cables, more planning |
| Space | Minimal | Needs room for 5 or more speakers |
| Surround effect | Virtual or with optional wireless rear speakers | True discrete speakers around you |
| Upgradability | Limited to the brand’s add-ons | Swap or add any speakers, sub or amp |
| Music quality | Good to very good | Can be excellent |
| Best for | Apartments, bedrooms, minimal living rooms | Dedicated rooms, film and gaming enthusiasts |
Speaker layouts explained
Layouts are written as main speakers . subwoofers . height speakers. So 5.1.2 means five main speakers, one subwoofer and two height speakers.
| Layout | Speakers | Good for |
|---|---|---|
| 2.1 | Left, right + subwoofer | Small rooms, music-first systems; big upgrade over TV speakers |
| 3.1 | L, C, R + sub | Clearer dialogue thanks to a dedicated centre |
| 5.1 | L, C, R, surround L/R + sub | The classic surround setup; most films and series support it |
| 7.1 | 5.1 + rear surround L/R | Larger rooms with space behind the seating |
| 5.1.2 / 5.1.4 | 5.1 + 2 or 4 height speakers | Dolby Atmos / DTS:X — sound from above |
| 7.1.4 | 7.1 + 4 height speakers | Dedicated cinema rooms; a common “reference” layout |
Dolby Atmos and DTS:X
Object-based formats place sounds as objects in 3D space rather than fixed channels. Your receiver or soundbar renders them to whatever speakers you have. Height effects can come from:
- In-ceiling speakers — the most convincing option.
- Up-firing (Atmos-enabled) modules that sit on top of front speakers and bounce sound off the ceiling. They work best with flat, fairly low ceilings.
- Virtualisation in soundbars and receivers — convenient but less precise.
Connecting everything
Plan the signal path
Either connect all sources to the receiver and one HDMI to the TV, or connect sources to the TV and send audio back via HDMI eARC.
Use the eARC port
eARC supports lossless and object-based formats; plain ARC is limited. Enable HDMI-CEC so one remote controls volume.
Wire the speakers
Observe polarity (+ to +, – to –). Label cables at both ends. Use appropriate gauge for long runs.
Connect the subwoofer
Use the receiver’s SUB/LFE output to the sub’s LFE or line input.
Set TV audio output
Set the TV to “bitstream” or “auto/pass-through” rather than PCM stereo, so the receiver gets the original surround format.
Placement and calibration
- Centre speaker: directly above or below the screen, angled at ear level.
- Front L/R: either side of the screen, roughly forming an equilateral triangle with the main seat.
- Surrounds (5.1): to the sides of, or slightly behind, the listening position, a little above ear height.
- Subwoofer: try the “sub crawl” — place the sub at your seat, play bassy content, crawl around the room and put the sub where bass sounds most even.
- Run room correction (Audyssey, Dirac Live, YPAO, etc.) with the mic at ear height at the main seat.
- Set speakers to “Small” with a crossover around 80 Hz in most systems, so the sub handles the deepest bass.
If voices are hard to hear, raise the centre channel level by 1–3 dB, or enable a dialogue enhancement mode. Night/dynamic range modes help at low volume.
Budget tiers
Starter
- Soundbar with wireless subwoofer
- HDMI eARC connection
- Optional rear speakers later
True surround
- Entry AV receiver
- 5.1 speaker package or bookshelves + centre
- 10–12" subwoofer
Enthusiast
- Receiver with advanced room correction
- 5.1.4 or 7.1.4 with in-ceiling speakers
- Two subs, acoustic treatment
Price ranges are approximate.
Frequently asked questions
Is a soundbar good enough for a home theater?
For many rooms, yes — especially models with a separate sub and rear speakers. A receiver and separate speakers still offer more realistic surround and better long-term upgradability.
Do I need two subwoofers?
Not necessarily. Two subs mainly help make bass more even across several seats. One good sub, well placed, is the right starting point.
What is HDMI eARC?
Enhanced Audio Return Channel lets your TV send high-quality audio, including lossless and Dolby Atmos formats, back to your receiver or soundbar over a single HDMI cable.
Can I use my hi-fi speakers for home theater?
Yes. Your stereo speakers can be the front left and right. Add a matching (or similar-sounding) centre and surrounds, plus a receiver.